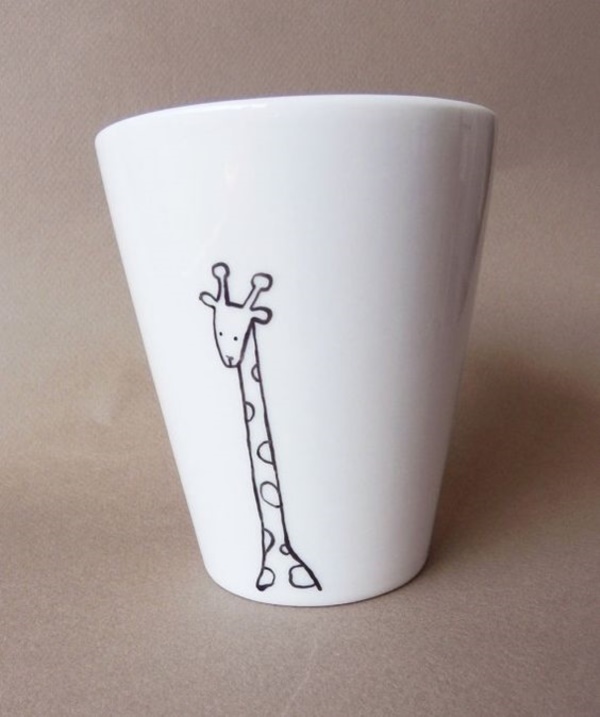
Sometimes the simple things of life when given as a gift for an occasion can make you smile than the most expensive things. Take for instance, the simple gift of a cute personalized coffee mug that you drink your morning coffee or favorite beverage out of. In this article that is what we will look at – the idea of DIY sharpie coffee mug designs that will delight you. These will come in handy to not only pep up the coffee mugs that you use on a daily basis but also those you want to give as a gift to others for any special occasions. There are colorful coffee mug ideas to choose from that will give you plenty of design ideas for creating sharpie coffee mugs. If you are so inclined and have the artistic skills, then you can even take a look at the pretty and perfect concept of porcelain painting, which is a delicate art and can take a lot of talent.
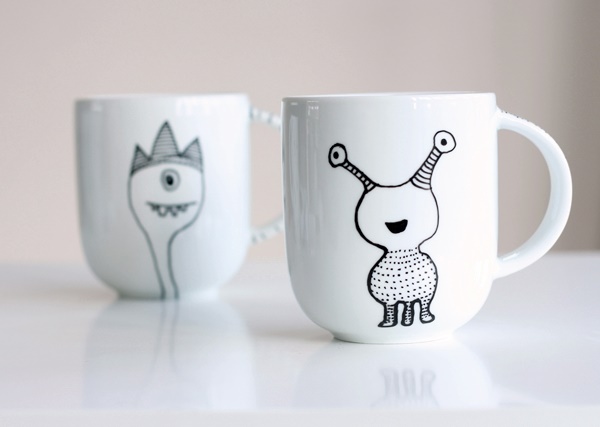

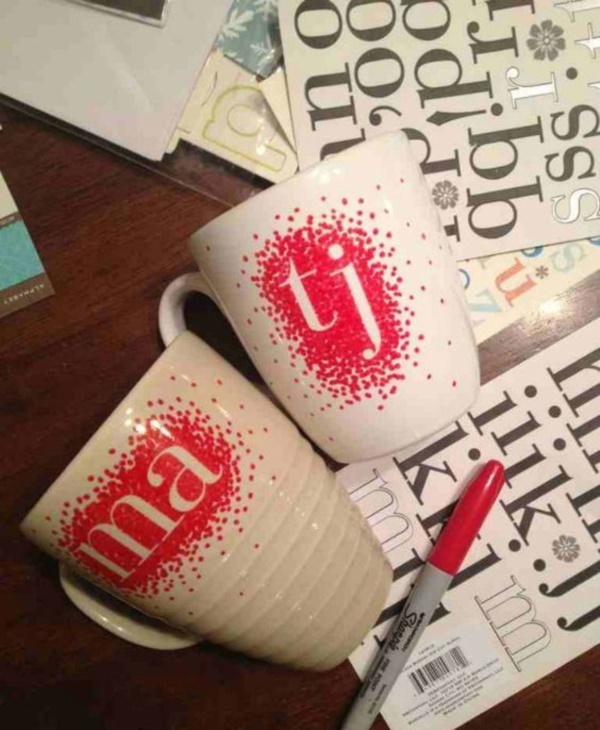
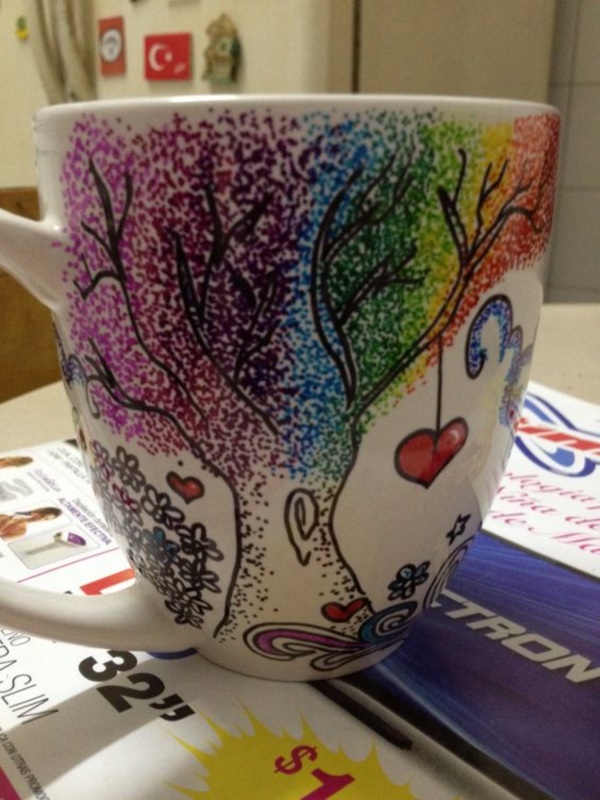

DIY SHARPIE COFFEE MUG DESIGNS TOT TRY


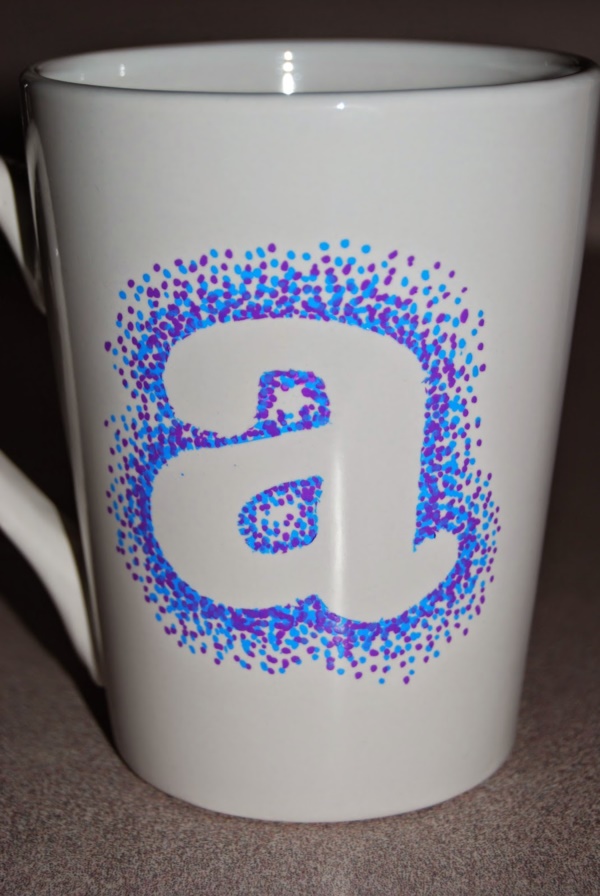


You can also use DIY sharpie coffee mug designs to inculcate into cute coffee shop ideas for you to enjoy your cuppa.
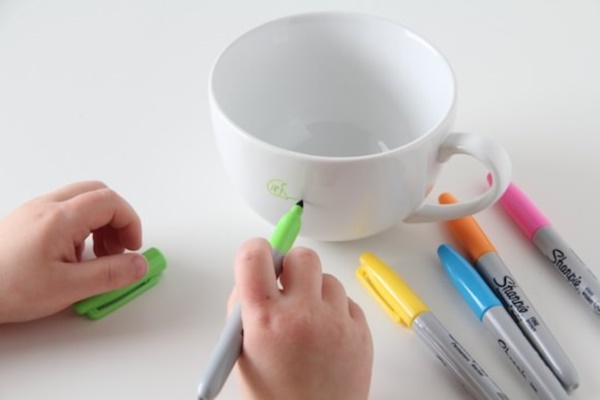
Here are the steps you have to follow to make DIY sharpie coffee mugs:
You will need the following supplies:
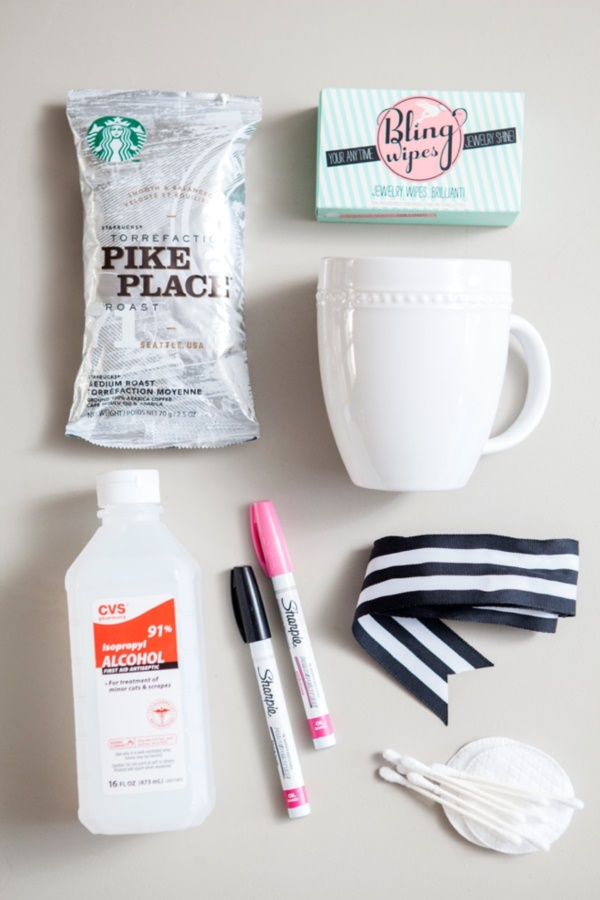
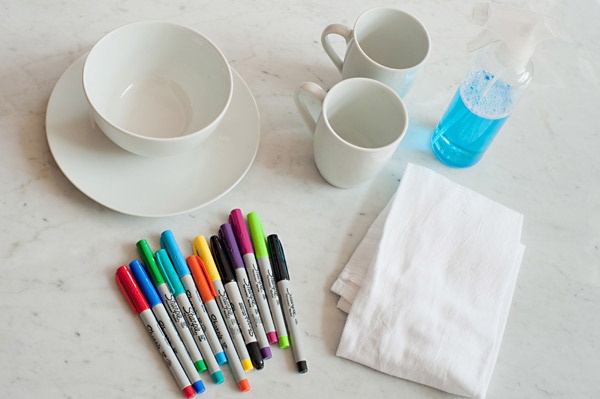
Plain ceramic or porcelain mugs
Sharpie oil paint based of various colors
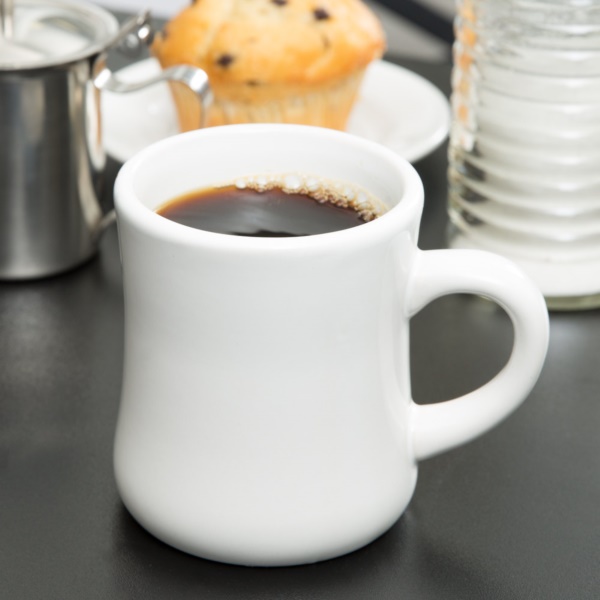
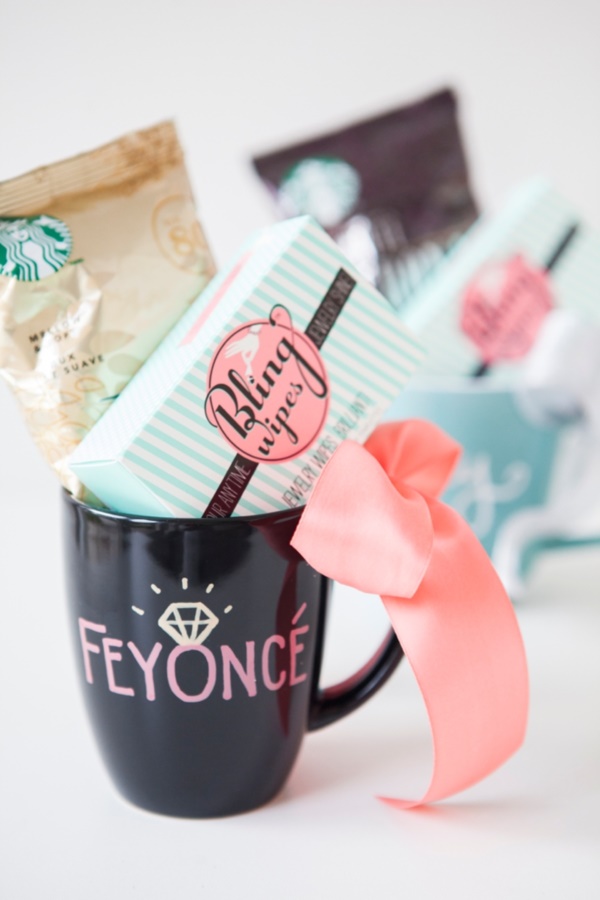
A pack of coffee that will fit in the mug
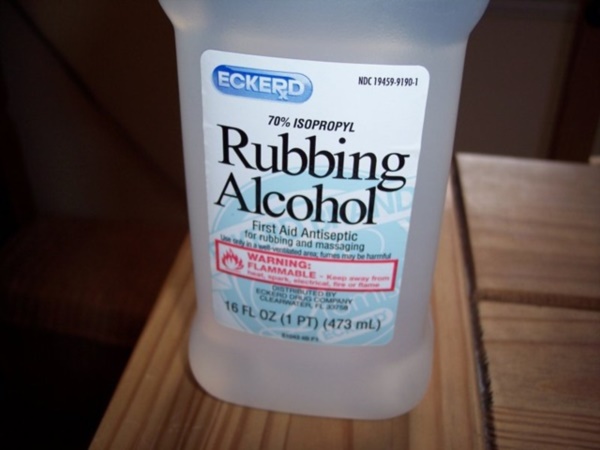
Alcohol for rubbing
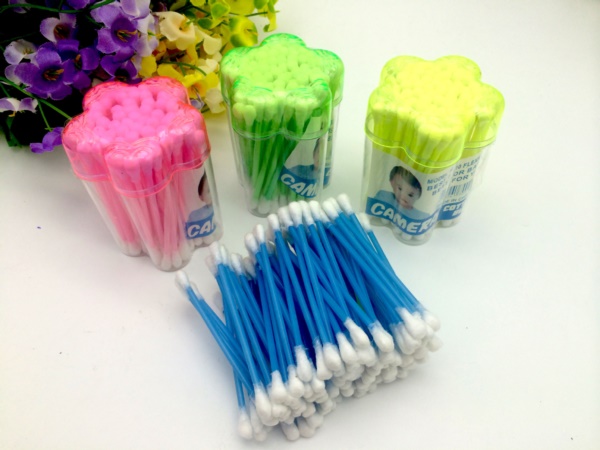
Cotton buds
Ribbon
Oven for baking
Process:
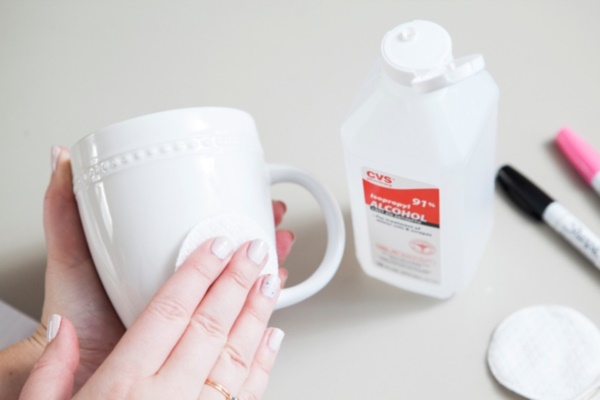
Start by cleaning the mug out. Ensure that you remove the paper stickers on the top as these will burn away when you bake them. One of the best ways to clean out the mugs is by using rubbing alcohol.
Try out your design on a piece of paper to ensure that you get it right. If required, practice a few times to ensure that you have it down pat.
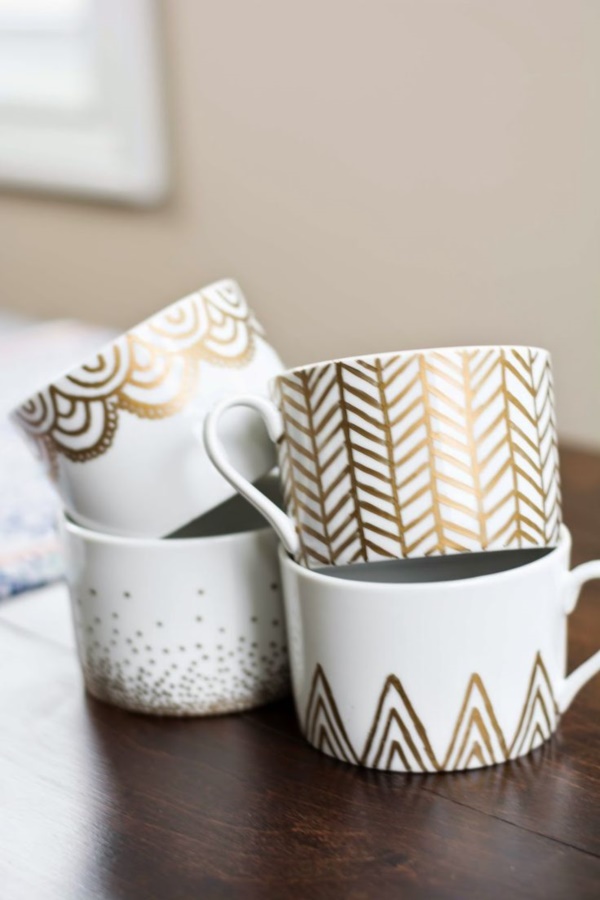


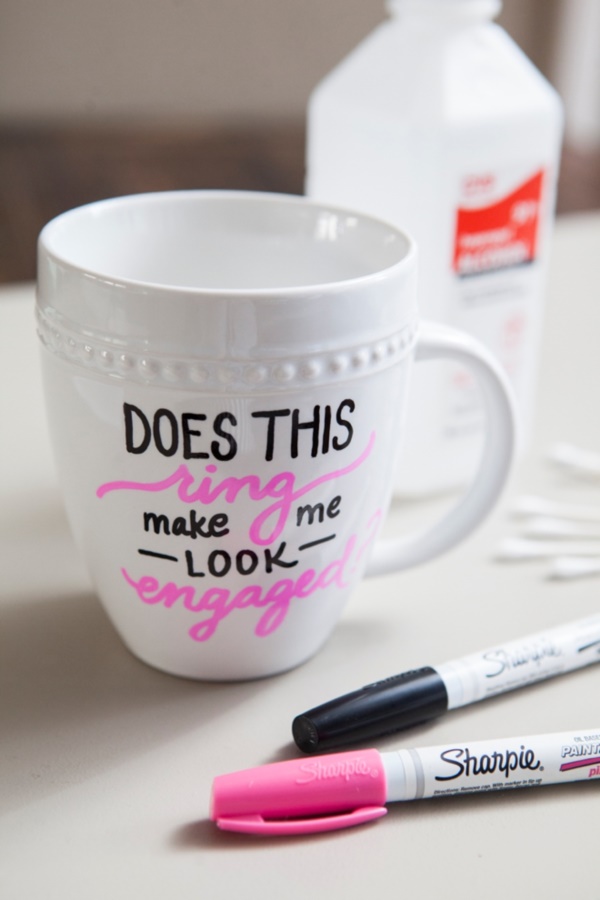
Start drawing the design on the mug using the sharpie paint pen with care. In case you make any mistakes in getting the design on the mug, you can wipe or correct it using the rubbing alcohol. For delicate corrections, you can use the cotton bud dipped in rubbing alcohol to remove the damage.
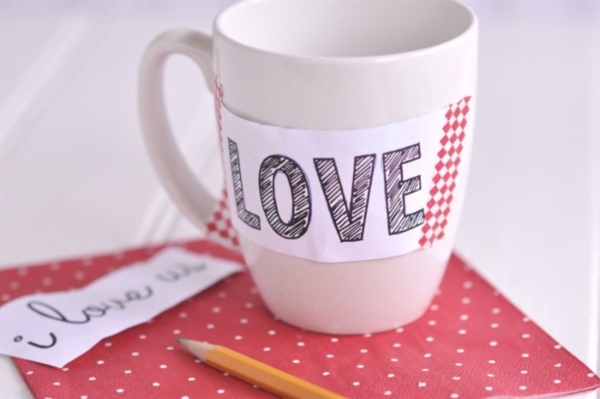
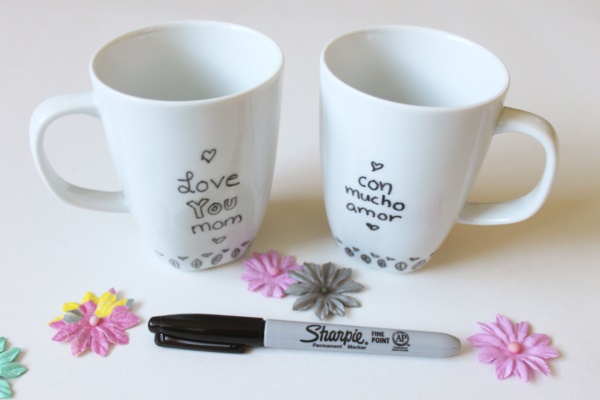
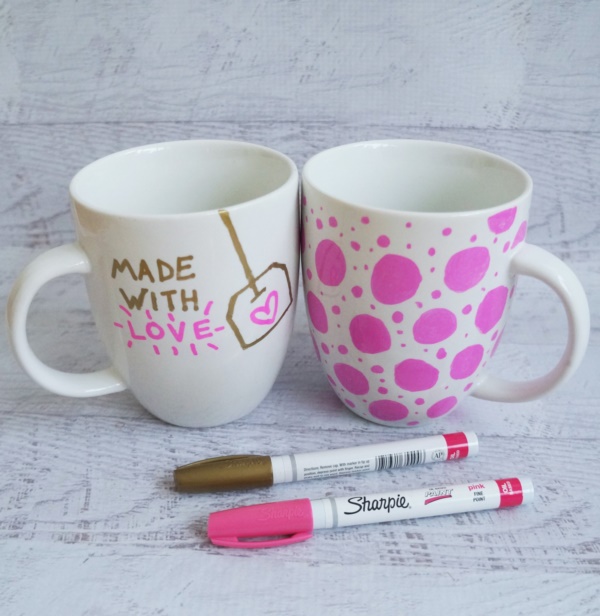
Once you are completely done with the design, you have to have a bit of patience and let it dry completely. You will need to let it dry for a period of three days or 72 hours to ensure that it is completely dry and ready to bake.
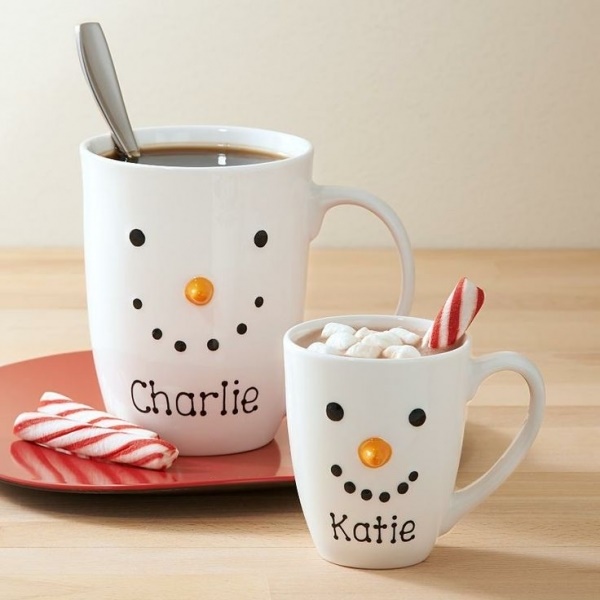

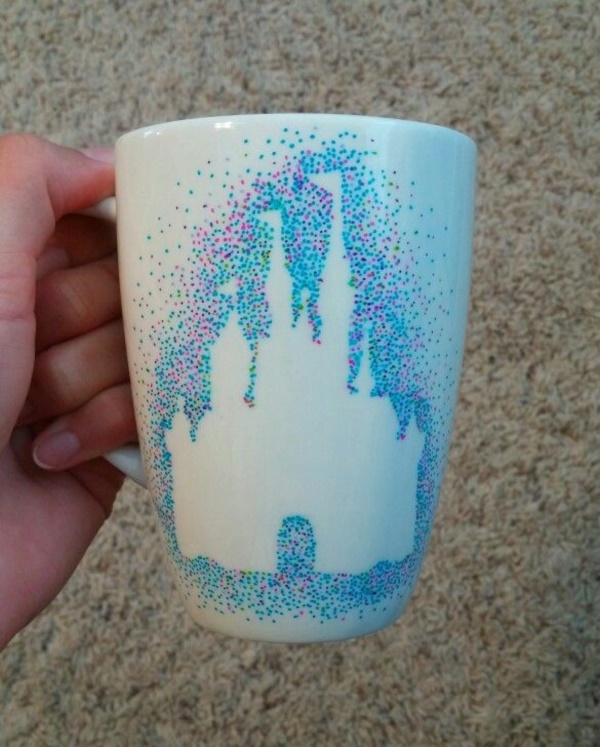
Put the coffee mug in a cold oven and then turn it to 425 degrees after setting the timer to 60 minutes. Once the timer goes off, turn off the oven. But let the mug cool inside the oven itself. The process of starting with a cold oven, baking and letting the mug cool in the oven itself will ensure that there are no cracks in the mug, which is why you need to follow this process.
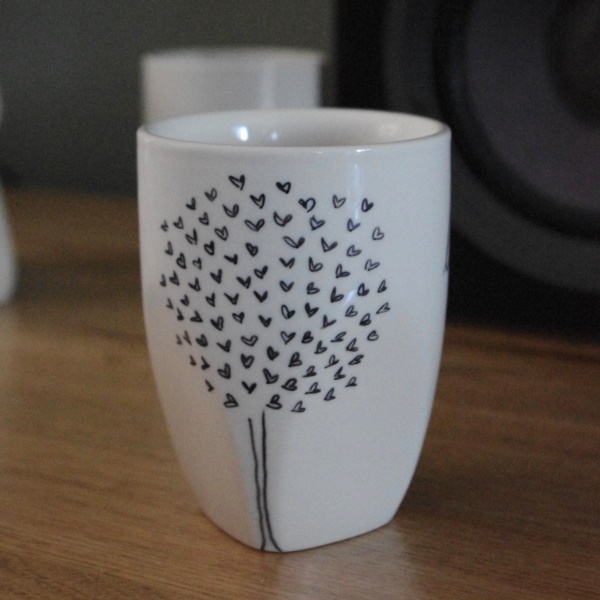

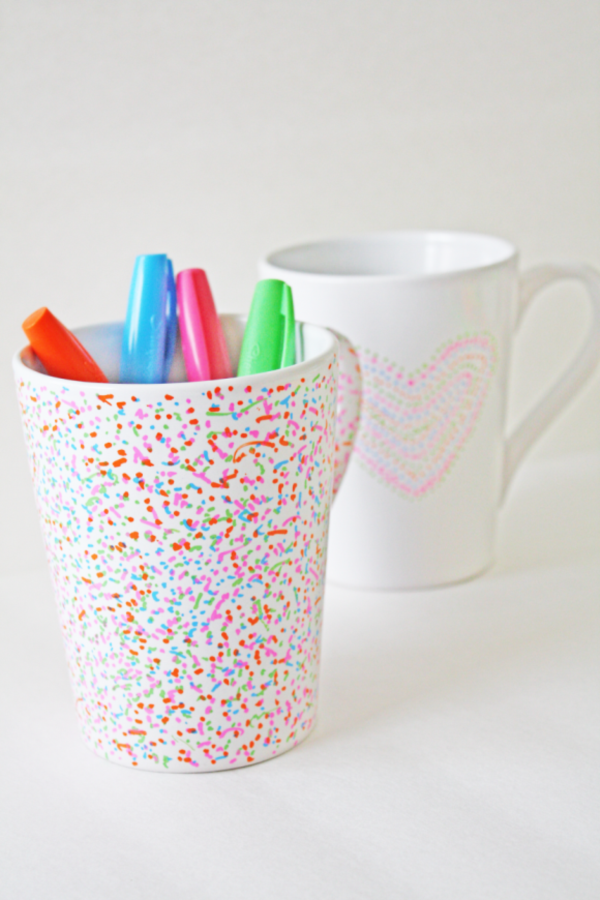
You will see that the baking process does have a subtle change in the colors used and you can factor this into the process when you are doing the next design and around the colors you use. You will find that hand washing does not affect the color or the design nor does it make the mugs chip.
As far as the mug designs are concerned, there are too many for you to choose from. But we would suggest that you pick out your sharpie coffee mug designs based on the occasion and the person you are gifting the mug to. This can be an awesome idea for a themed gift that you can give to your close family and friends for a special occasion. For instance, if you are making these mugs for Harry Potter based theme, then you can use motifs and sayings from the series. The same way you can have Lord of the Rings sayings and motifs for a party based on this theme and so on.

