- 43.4Kshares
- Facebook10
- Twitter6
- Pinterest43.4K
- StumbleUpon0
- Tumblr
Clean the rock: Now that you have your painting surface in hand, do make sure that you clean it properly. One of the best ways to get it cleaned properly is by using plenty of water and an old toothbrush to scrub away the grit and sand.
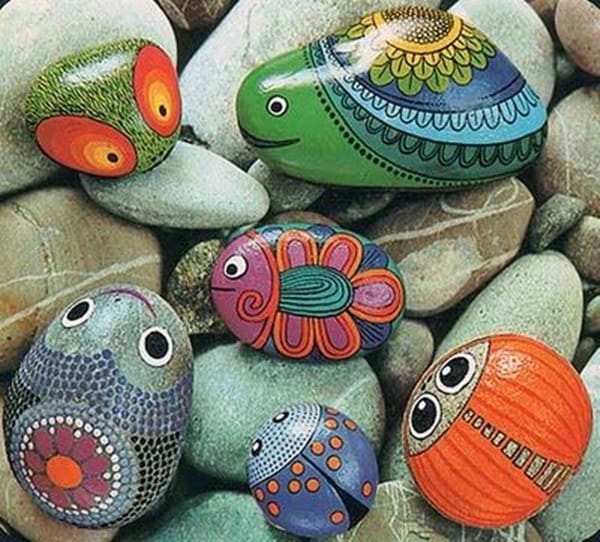
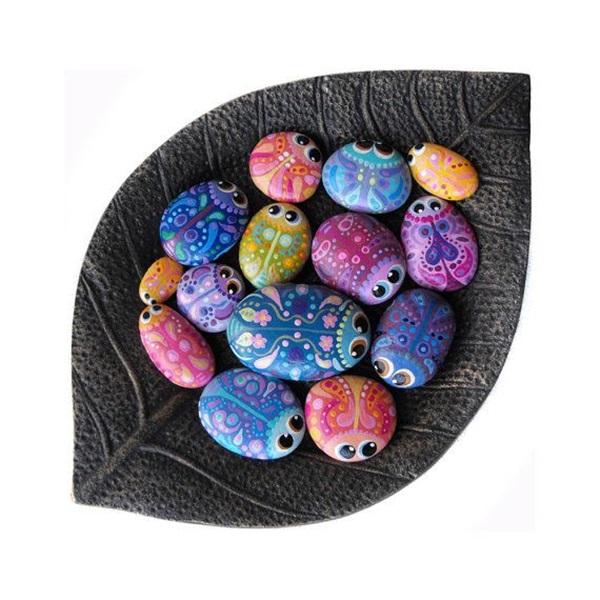
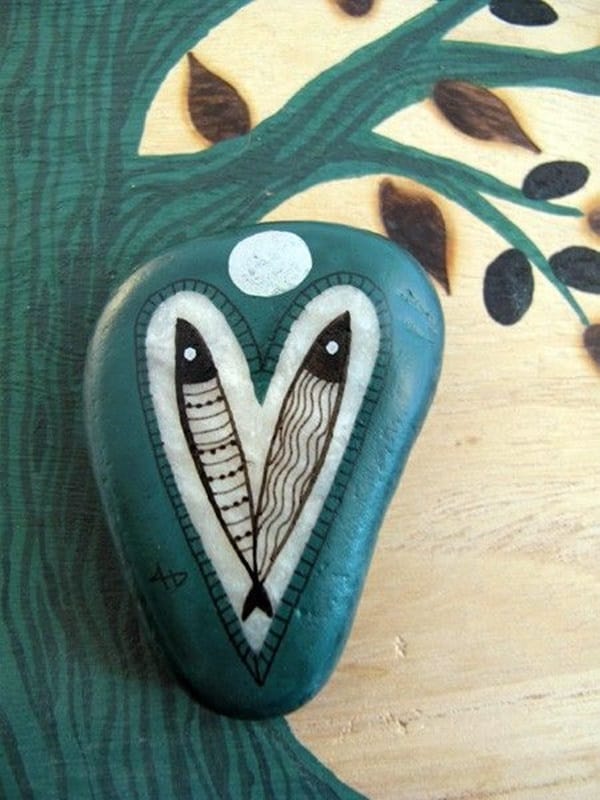
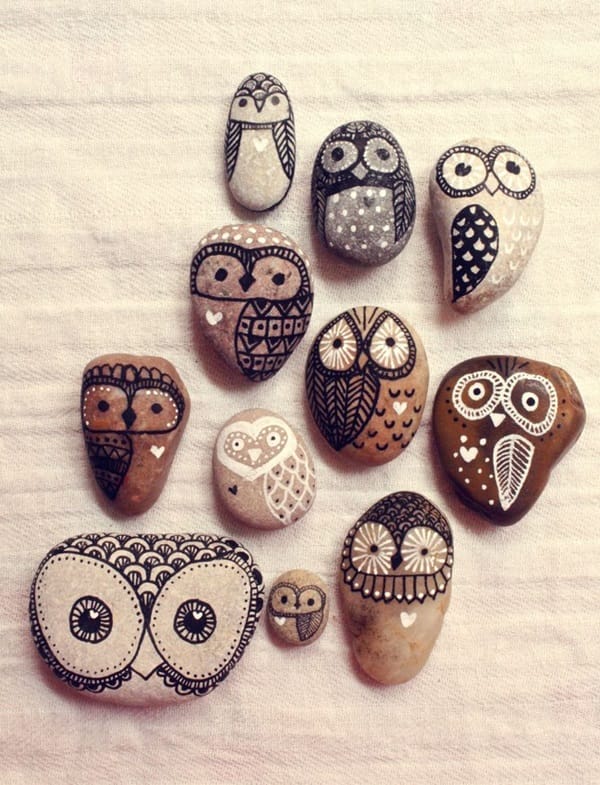
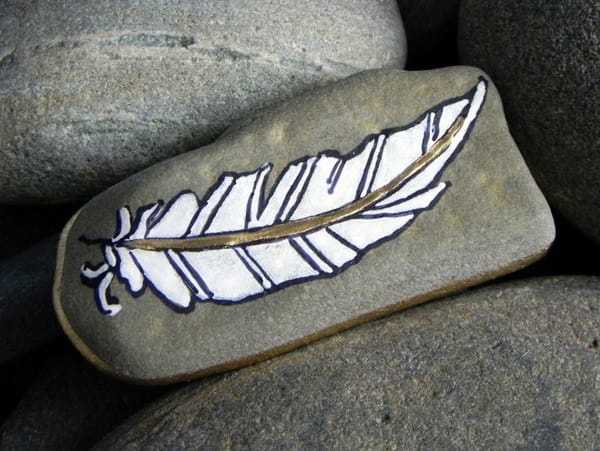
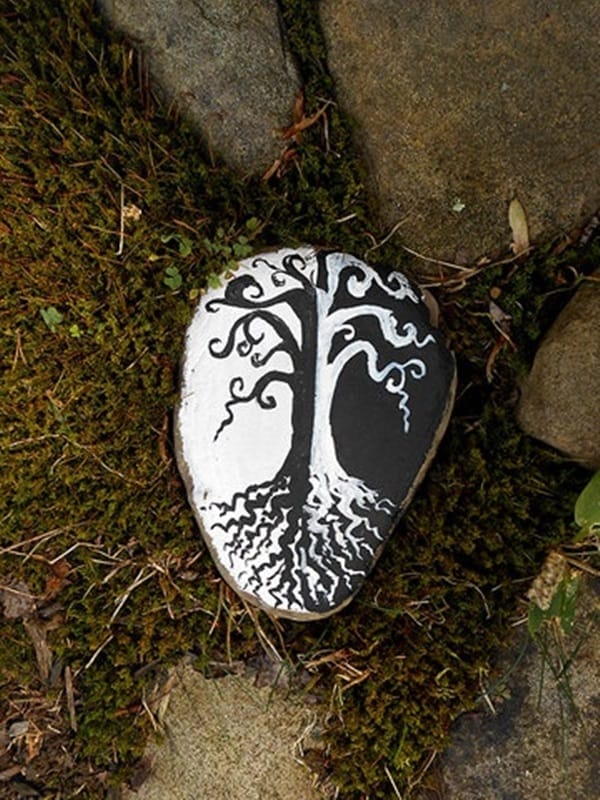
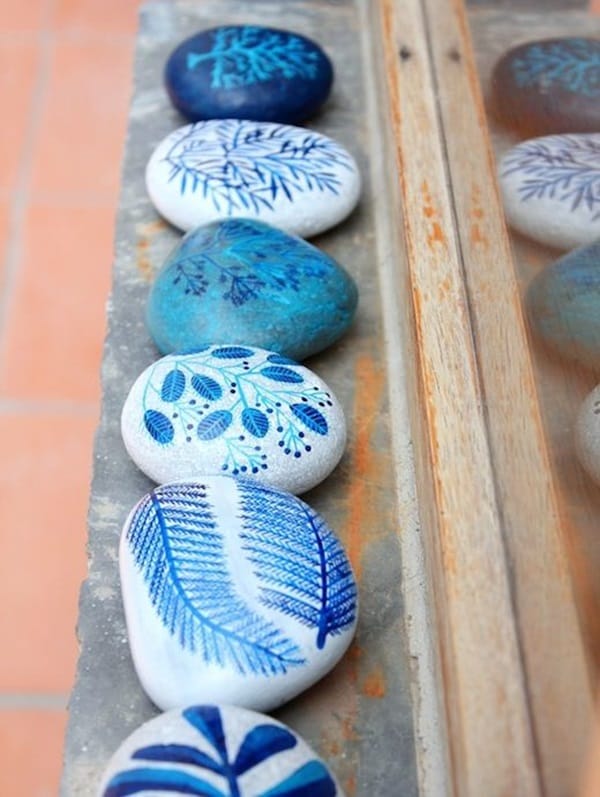
Get an idea about what you are going to paint: When you decide to paint something, we are sure that you will find plenty of inspiration. One of the sources of inspiration that is likely to set you off is innovative examples of leaf paintings. It will provide you with some ideas to get started.

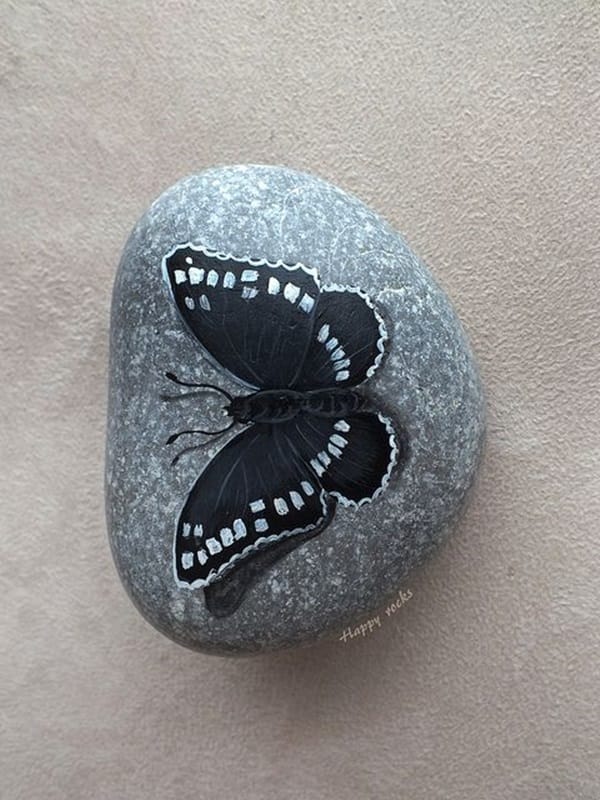
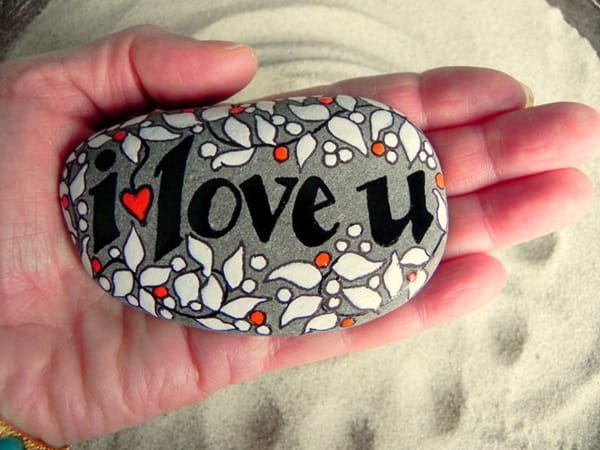
Draw an outline of what you want to paint: Use a pencil to draw an outline of the design that you want to paint. Don’t make it too dark so that it the outline doesn’t show up when you paint in it.

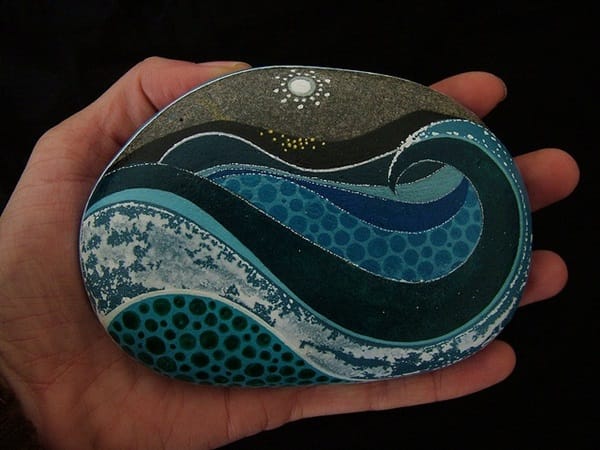
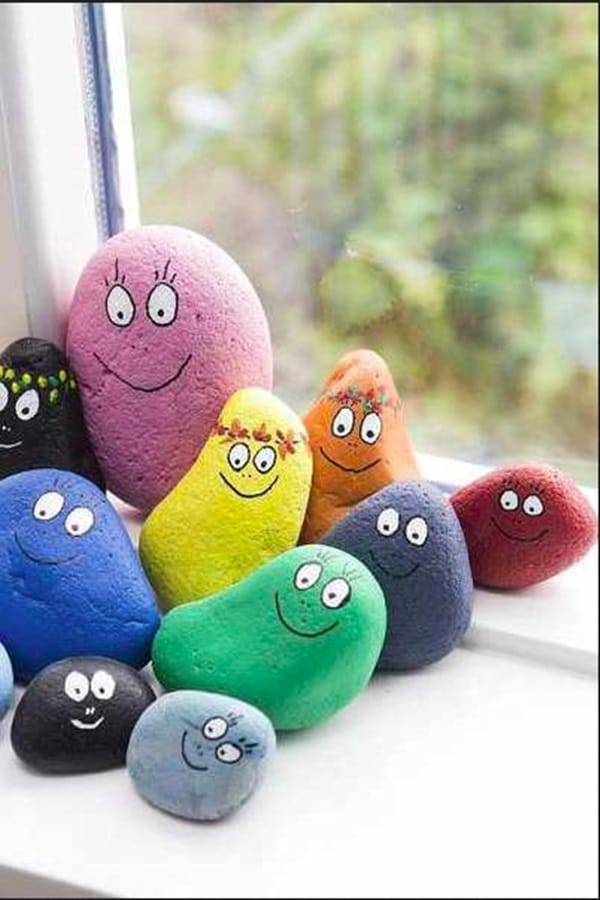
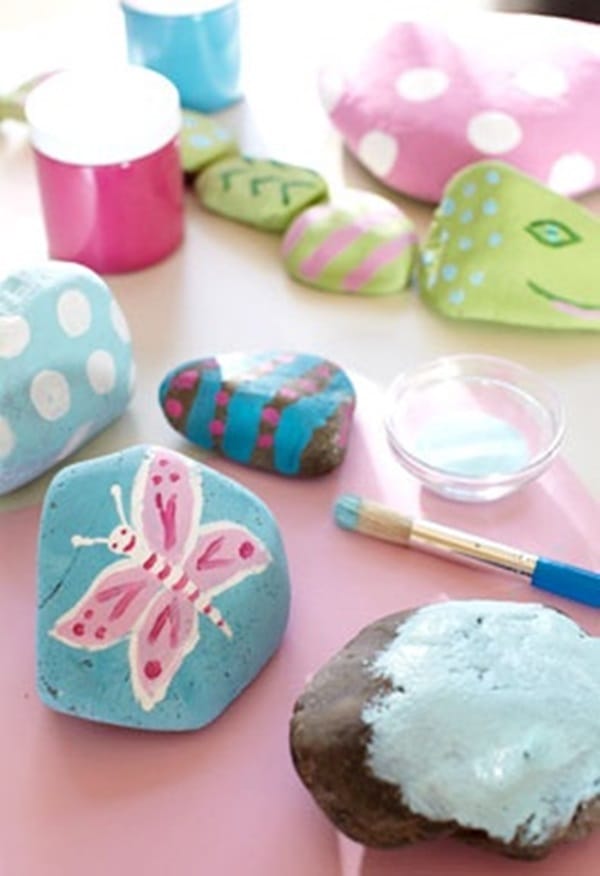
Collect paints and blend if required: The next thing to do is collect all the paints you will need to paint the rock. If need be blend the paints if you are looking for a particular shade of color.
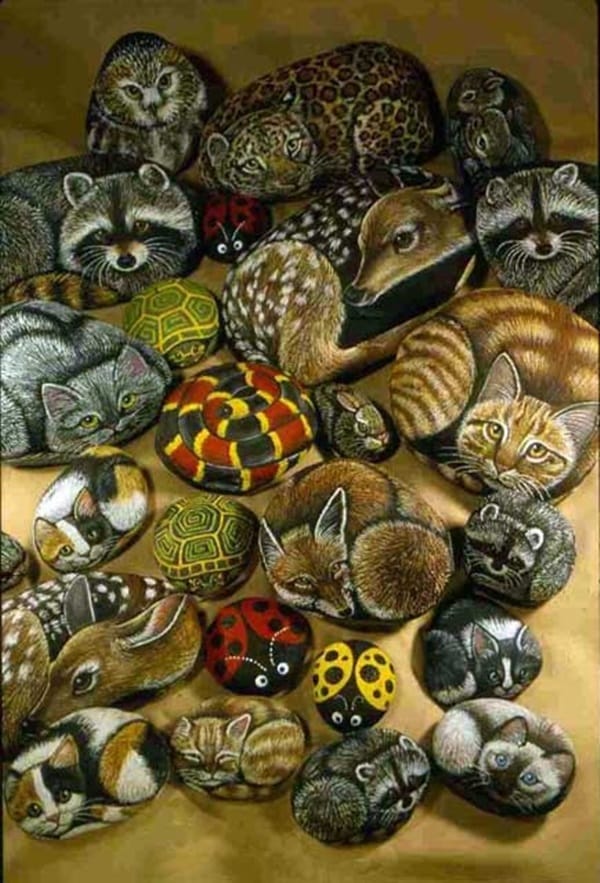
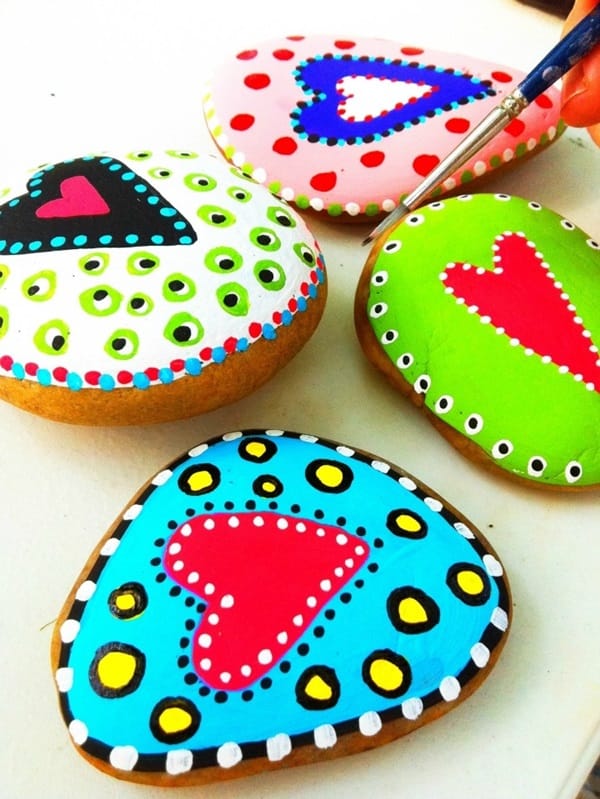
Start by painting the bigger areas: Another thing to remember while painting a small surface like a rock it is important to remember that the larger areas go first so that you don’t have to struggle with things once you are done with the smaller parts.
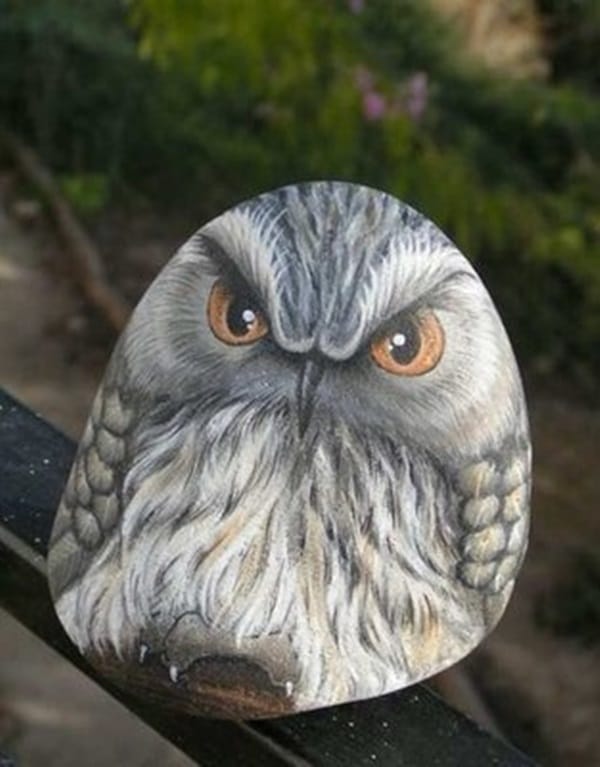
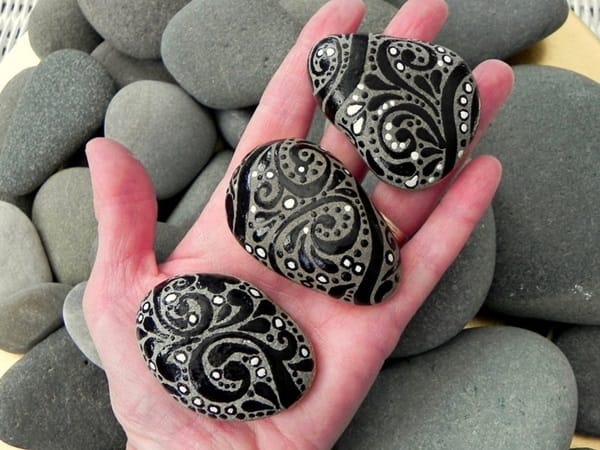
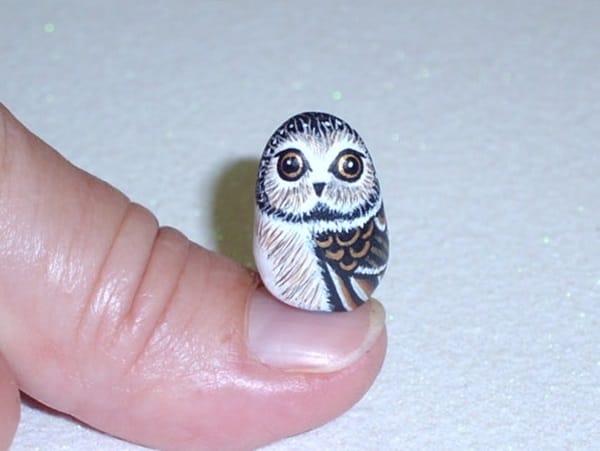
Complete the rock painting by refining the smaller bits: Once you have painted the larger parts of the rock then you can put in the smaller bits. Once all the parts that you want are painted, then refine on each of the objects. Use smaller brushes as the surface you are painting on is pretty small.
Seal the artwork: One of the things about rock paintings is that we tend to use them for display or for practical purposes like paperweights or something like that. This increases the likelihood of the paint eroding or fading away. The best way to prevent this from happening is to apply a sealant to ensure that this does not happen.

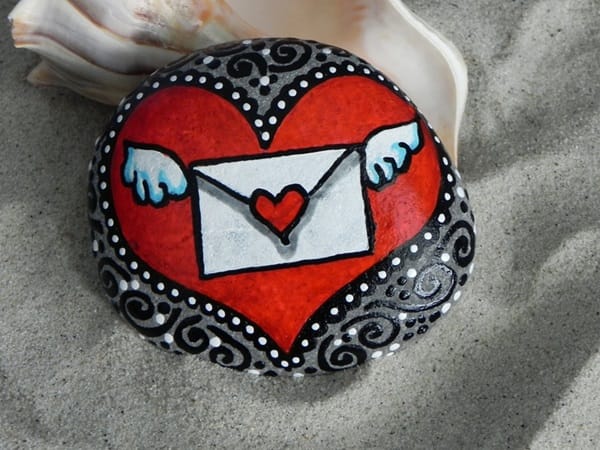
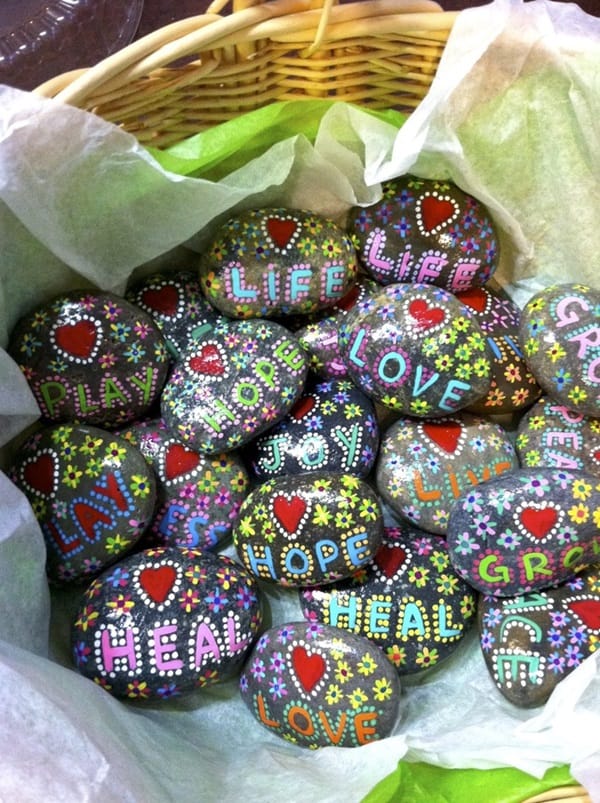
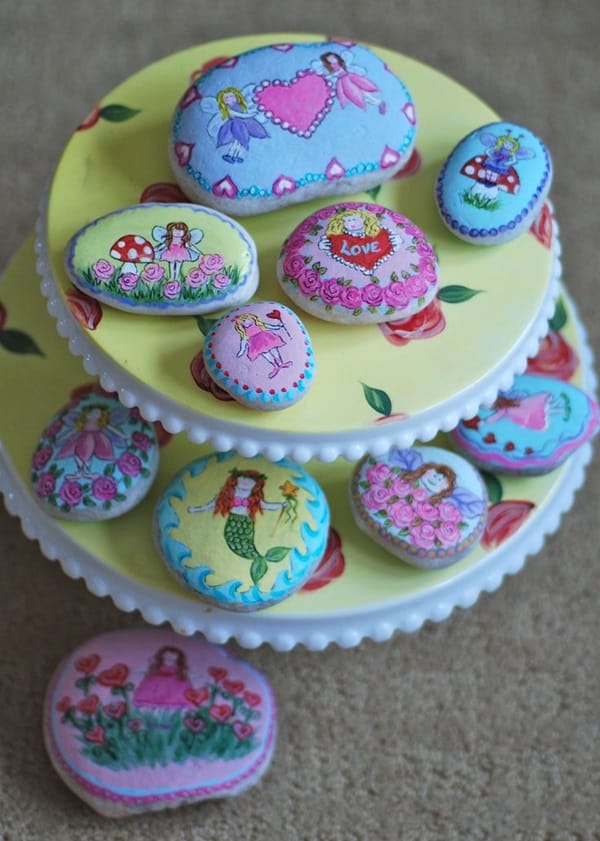
Rock painting is not only a fun way to decorate stuff around your home or to use as paperweights or to give to people as keepsakes or to even hand over to people as return gifts but also works as a fun project for kids to do when they are bored.
Reply